Review · NIGHT & ASTRO PHOTOGRAPHY
Osaka Night Photography Workshop
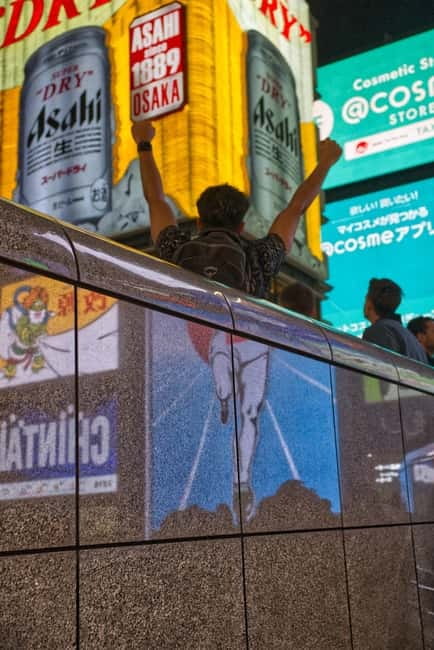
Osaka after dark gives you plenty to work with: glowing signs in Dotonbori, neon reflections, old-fashioned streets in Shinsekai, and moving trains near Tennōji. With photographer Irven Lewis, you get more than a walk with a camera. You get hands-on help using manual settings, a tripod, light trails, and timing. I especially like the private format and the way Irven adjusts the pace to your skill level.
I also like that you can ask to visit less typical spots instead of following a fixed postcard route. Bring a spare battery, though. One participant covered so much ground that the camera battery died before the evening was over. Three hours can pass quickly, and the route involves plenty of walking, so comfortable shoes matter.
- Private coaching with Irven Lewis: The session is adjusted for beginners, experienced photographers, and professionals.
- Four Osaka areas in one evening: The planned route runs through Dotonbori, Nipponbashi, Shinsekai, and Tennōji.
- Practical camera training: Work on aperture, ISO, shutter speed, composition, framing, and manual focus choices.
- Night photography techniques: Learn to use a tripod and create sharp images, light trails, and illuminated street scenes.
- A flexible route: You can discuss your interests and ask for locations outside the usual path.
- Good preparation matters: Bring comfortable shoes and spare batteries if you plan to shoot heavily.
What This Osaka Night Workshop Really Teaches
This is not simply a photo walk where you follow a guide and press the shutter. The useful part is the teaching. Irven takes you through the settings that control a photograph, then gives you time to use them on real streets.
For a beginner, that means learning how aperture, ISO, and shutter speed work together. You will see why a slow shutter can brighten a dark scene, why a high ISO can help when you are moving without a tripod, and why shutter speed matters when people, cars, or trains enter the frame.
For an experienced photographer, the value is different. You already may know your camera, but a local guide can save you time and point you toward places that suit your style. You can focus on street scenes, reflections, neon, architecture, or motion rather than spending your limited evening wandering without a plan.
The private format makes this especially useful. You are not waiting for a group to finish basic camera questions. You can ask Irven to slow down, move faster, change the route, or spend longer on a technique that is giving you trouble.
Dotonbori: Neon, Reflections, and Fast Street Scenes
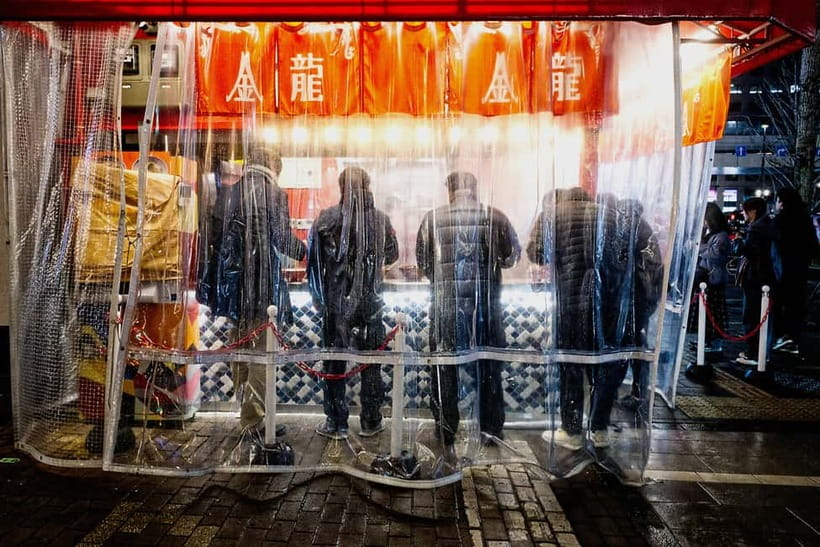
Dotonbori is the natural first stop because it gives you a lot of visual material right away. Its famous canal area and illuminated signs offer strong color, reflections, faces, movement, and layered street scenes.
The challenge is that there is a lot happening at once. Beginners often point the camera at the brightest sign and end up with a flat image. Irven can help you decide what belongs in the frame, where to place a subject, and how to balance bright signs with darker areas.
This is a good place to work on composition and framing. You might photograph a person against a bright sign, use the canal as a leading line, or wait for a passing subject to enter the right part of the frame. Timing matters more here than simply having an expensive camera.
Night scenes can fool a camera’s automatic settings. Bright advertisements may cause the camera to make the rest of the picture too dark. Learning to take control of exposure gives you a better chance of keeping detail in both the signs and the street.
If you use a smartphone, you can still take part. The workshop welcomes smartphone photographers, though the level of manual control will depend on your phone and its camera app.
More Night and Astro Photography in Japan:
- Tokyo by Night Photography Tour (Private Option Available)
★ 5.0 · 151 reviews - Tokyo Shinjuku Night Photo Tour with Pro Gota
★ 5.0 · 142 reviews - Private Stargazing Photography Tour In Kabira Bay
★ 5.0 · 8 reviews
Nipponbashi: A Change of Pace and Texture
The route then moves toward Nipponbashi, giving you a different setting from the central Dotonbori scenes. This change matters because good night photography is not just about bright lights. You want different textures, street arrangements, and subjects to keep your photo set from looking repetitive.
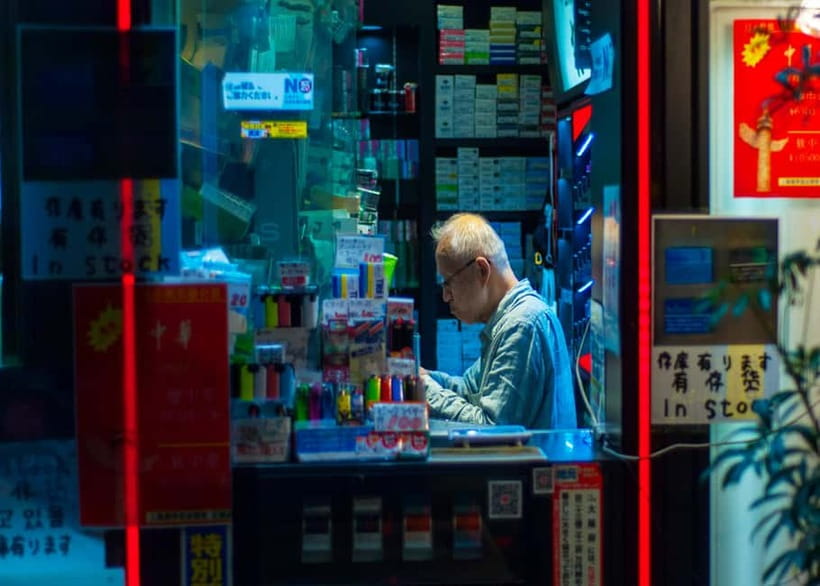
Here, Irven can help you look beyond obvious signs. Pay attention to small details, lines between buildings, people moving through pools of light, and the way artificial light changes color across a street. These are the moments that can make a set of Osaka photos feel personal rather than like a collection of tourist snapshots.
This part of the route also gives you room to practice making decisions. Should you use a wide aperture to isolate a subject? Should you stop down for more detail? Would a slower shutter show movement, or would it simply make the image blurry? You will learn by trying the settings and reviewing the results with Irven.
The route is not designed as a race from one landmark to another. Still, three hours is limited. If you want detailed instruction at every stop, you may need to accept fewer locations or discuss your priorities at the start.
Shinsekai: Nostalgia and Nighttime Character
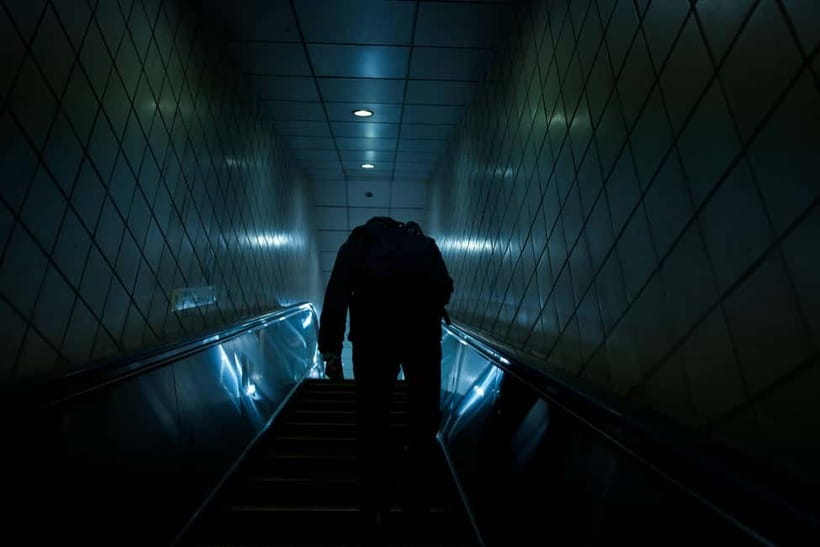
Shinsekai brings a more nostalgic look to the workshop. Its streets offer a contrast with Dotonbori’s bright commercial energy, making it useful for photographers who want atmosphere and character rather than only neon.
This is a strong place to practice framing. Look for repeating lines, signs at different distances, older shopfronts, and people moving through the scene. Irven can guide you toward subjects that make a photograph work, which is particularly helpful if you are new to street photography.
One participant who described being a novice in street photography found the guidance on choosing subjects especially useful. That is an important point. Many beginners know how to operate a camera but do not yet know what is worth photographing. A guide can help you make that judgment in real time.
Shinsekai may also be one of the more rewarding stops for photographers who prefer a quieter or less polished mood. The drawback is that the route includes a lot of walking between areas, and the evening can feel full if you try to photograph every possible scene.
Tennōji: Trains, Motion, and a Final Set of Frames
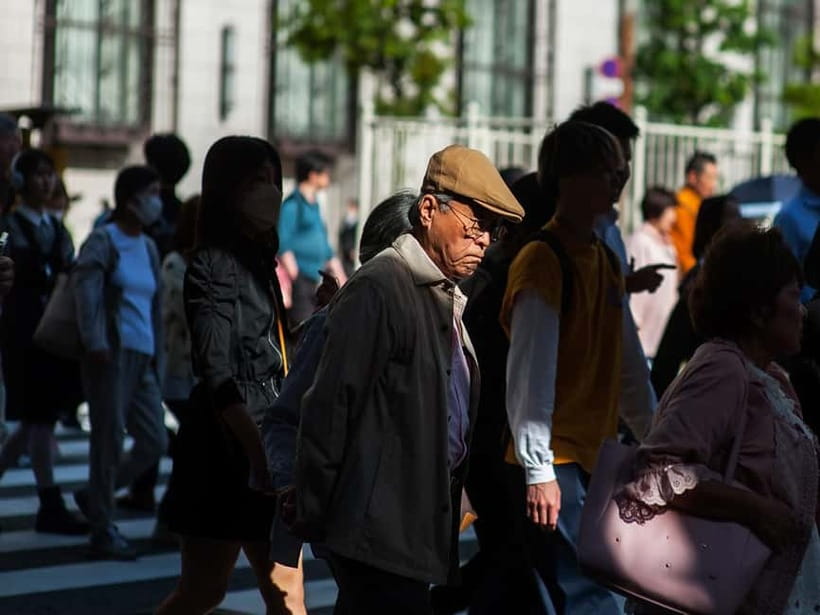
The route finishes by taking a train to Tennōji, where more photo opportunities await. The change in transport is part of the experience, not just a way to get from one district to the next. You get to photograph a different side of Osaka and work with motion, station activity, and changing light.
This is where shutter speed becomes especially practical. A fast shutter can freeze movement. A slower shutter can create blur or light trails when used with care. With a tripod, you can also make sharper exposures in low light, provided the subject remains reasonably still.
Tripod work can feel slow at first, especially if you are used to taking quick handheld photos. You need to choose a position, frame the shot, set the exposure, and wait for the right moment. That slower process is useful because it forces you to look carefully before pressing the shutter.
You should not expect every final image to be perfect. Night photography includes missed focus, overexposed signs, unwanted movement, and frames that looked promising but do not work later. The benefit is that you get useful feedback while those mistakes are still fresh.
More Photography Workshops and Lessons in Japan:
- Tokyo: Photography Masterclass – Private Photo Lesson
★ 5.0 · 7 reviews - Paris Photography Masterclass – Private Photography Lesson
★ 5.0 · 112 reviews - 2-Hour Photography Class While Touring Downtown Santa Fe, Smart Phones Welcome!
★ 5.0 · 108 reviews - Unique Rome by Night, Photo Tour and Workshop Under the Stars
★ 5.0 · 96 reviews
Why Manual Settings Matter After Dark
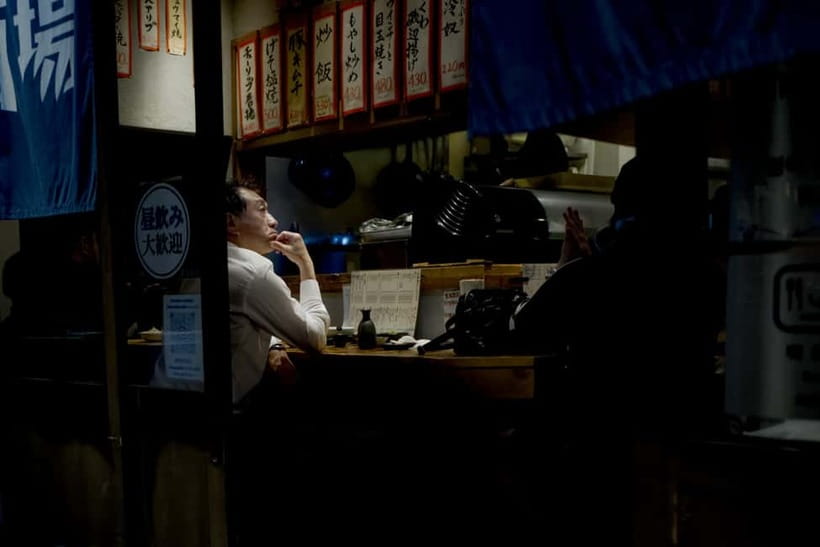
The workshop focuses on the exposure triangle: aperture, ISO, and shutter speed. These are basic terms, but night streets make their effect easy to see.
Aperture controls how much light enters the lens and affects how much of the image appears sharp. A wider aperture can help in dim conditions and may separate a person from the background. A narrower aperture can keep more of a scene sharp but may require a slower shutter or higher ISO.
ISO controls the camera’s sensitivity to light. Raising it can help you shoot handheld after dark, but too much can add noise. Irven can show you how to make that choice rather than relying on one setting for every scene.
Shutter speed controls both brightness and movement. A fast setting can freeze a moving person or train. A slow setting can record trails of light, but it also increases the risk of camera shake. This is where the tripod becomes useful.
You will also work on timing. A good street photograph may depend on waiting for a person to step into the right gap, a train to pass, or a reflection to line up with a sign. That kind of timing is hard to learn from camera instructions alone. You need to practice it outside.
A Private Route That Can Match Your Skill
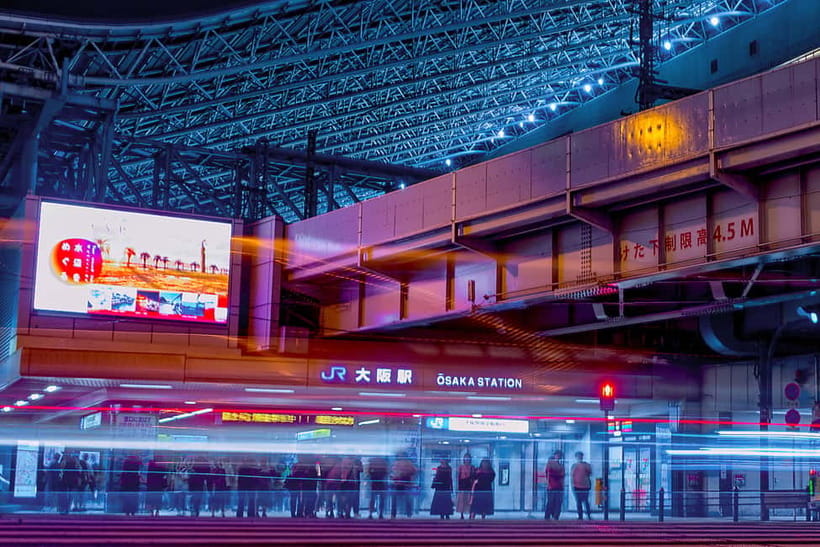
The workshop is aimed at a wide range of photographers. Absolute beginners can learn camera basics, while professionals can use Irven as a local guide and location scout.
That broad range works because the group is private. If you are new to photography, you can spend more time on camera controls. If you already shoot in manual mode, you can ask for help with composition, timing, or less familiar parts of Osaka.
You can also request locations that are not part of the usual route. One participant asked to photograph places Irven does not normally include, and Irven agreed. That suggests the route can respond to your interests, though you should discuss special requests before the workshop so the three-hour schedule remains realistic.
The session is conducted in English. It is also wheelchair accessible, though the walking-heavy route and multiple districts are still worth discussing when you book if mobility affects your plans.
The Price: Is $200 Worth It?
At $200 per person, this is not a cheap sightseeing walk. The value depends on how much you want from the photography instruction.
For a casual camera owner who only wants a few night photos, the price may be hard to justify. You could walk through Dotonbori on your own and take pictures without paying a guide.
For someone who wants to improve, the calculation is more favorable. You receive three hours of private instruction, local route planning, practical exercises, camera support, and feedback. You also avoid spending much of an evening guessing where to go and how to handle difficult light.
The price makes the most sense if you arrive with clear goals. Tell Irven if you want to work on manual exposure, street composition, light trails, smartphone photography, or a particular type of scene. The more specific you are, the more useful the private format becomes.
Food is not included, so plan to eat before or after the workshop. Comfortable shoes are important, and I would add a charged battery, an extra battery if you have one, and enough storage space for a busy evening.
A Note About the Published Location Details
The main experience is described as an Osaka workshop through Dotonbori, Nipponbashi, Shinsekai, and Tennōji. Elsewhere, the included location details refer to Kyoto sites such as Kiyomizu-dera, Yasaka Pagoda, Fushimi Inari Taisha, Gion, and the Shirakawa Canal.
That is a clear detail to check before booking. If you want an Osaka-only evening, confirm that the route will use the Osaka stops. If you are interested in Kyoto photography too, ask Irven whether a separate Kyoto session is available. The provider is Shoot Travel Japan, and the photography website associated with the experience is Irvenlewisphotography.com.
Who Will Get the Most From This Workshop?
I would recommend it most strongly to:
- Beginners who want patient help with camera basics.
- Visitors who feel unsure about photographing people and street scenes.
- DSLR and mirrorless users who want to practice manual exposure at night.
- Smartphone photographers who want better composition and timing.
- Experienced photographers who prefer a private guide and flexible route.
- Anyone who wants to photograph Osaka beyond a single famous viewpoint.
It may be less suitable if you dislike walking, want a relaxed meal-based evening, or prefer to photograph entirely on your own. The itinerary covers several districts, and the three-hour limit means you need to keep moving.
The current rating is five out of five from three posted ratings, with praise focused on Irven’s guidance, location choices, and ability to match the pace to the photographer. The strongest practical message is simple: expect a productive evening, not a slow stroll.
Should You Book the Osaka Night Photography Workshop?
Book it if you want to come home with better technique, not just more pictures. Irven’s coaching covers the parts of night photography that often cause trouble: exposure, tripod use, light trails, composition, and timing.
The private format and flexible route are the main reasons to choose this experience over a standard group walk. Bring spare batteries, wear comfortable shoes, and decide what you most want to photograph before you arrive. Also confirm the Osaka route because the published location details include some Kyoto sites.
If those points suit your plans, $200 buys focused instruction and a well-planned evening in several of Osaka’s most photogenic districts. If you only want a quick set of snapshots, save the money and explore on your own.
FAQ
How long is the Osaka Night Photography Workshop?
The workshop lasts three hours. Starting times vary, so you should check availability when booking.
Who leads the photography workshop?
The workshop is led by Irven Lewis. The session is conducted in English.
Which Osaka locations are included?
The planned Osaka route starts in Dotonbori, continues to Nipponbashi and Shinsekai, and then takes a train to Tennōji.
Is the workshop suitable for beginners?
Yes. It is designed for absolute beginners learning camera basics as well as experienced photographers seeking local photo guidance.
Can I use a smartphone instead of a camera?
Yes. DSLR, mirrorless, and smartphone users are welcome.
What camera skills will I practice?
You will work on manual settings, the exposure triangle, aperture, ISO, shutter speed, composition, framing, light trails, timing, and tripod use.
What should I bring?
Bring comfortable shoes. Since the workshop can cover many locations and involve substantial walking, a spare camera battery is also a sensible choice.
More Evening Trips around Japan
- Tokyo: Evening Photography Tour
★ 4.8 · 61 reviews - Osaka by Night and Day Photo shoot
★ 5.0 · 10 reviews - Osaka Dotonbori Night Photoshoot Private | Pro Photographer
★ 4.5 · 6 reviews - Rhodes: E-bike Highlights Sunset or Morning Photo Tour
★ 4.9 · 351 reviews
Just added around Japan
- Private Hakone Kimono costume Photo Tour with Hotel Pick-up★ 5.0 · 4 reviews
- Luxury Kimono Photoshoot at Ginza Tokyo★ 5.0 · 7 reviews
- Photoshoot in Shirakawago/Takayama by professional photographer★ 5.0 · 5 reviews
- 1 Hour Private Photoshoot in Hakata★ 5.0 · 5 reviews
- Fuji Photo Tour★ 5.0 · 6 reviews
- Mt. Fuji 2-Hour Photo Shoot with a Local Photographer-Kawaguchiko★ 5.0 · 6 reviews
- Private Mt.Fuji Kimono costume Photo Tour with Hotel Pick-up★ 5.0 · 5 reviews
- Stroll & Snap:Your Private Portrait Session★ 5.0 · 3 reviews
Night & Astro Photography, side by side.
Tokyo by Night Photography Tour (Private Option Available)
Read our review →
Night Photo Session in a Fiat 500 with Aperol Spritz
Read our review →
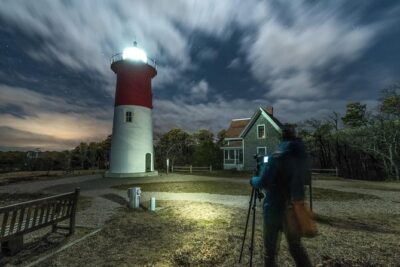
Private Guided Night Photography Tours on Cape Cod (for one photographer.)
Read our review →