
Review · PHOTOGRAPHY TOURS
Lucerne: Photography Walking Tour
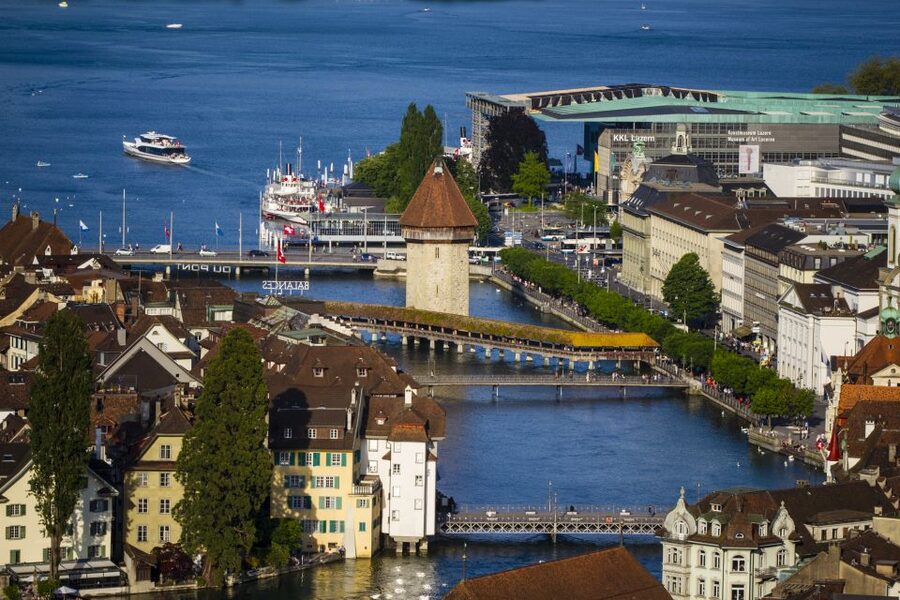
Lucerne makes an excellent photo classroom because its best sights arrive close together: painted Old Town façades, covered wooden bridges, mountain views, and the broad sweep of Lake Lucerne. This two-hour walk helps you look at familiar landmarks with a photographer’s eye, not just point and shoot.
I like the small-group format, which gives you a better chance to ask for help. I also like the mix of postcard sights and less obvious angles, especially the castle viewpoint and Musegg Wall. You can bring a DSLR, compact camera, or smartphone, and no previous photography experience is required.
The main consideration is pace. You will cover several parts of central Lucerne on foot in two hours, with a moderate amount of walking. Serious photographers may want more time at each stop, while casual users should find the route energetic rather than exhausting.
Key points to know before you book
- Bring any camera you use: A smartphone, compact camera, or professional setup is suitable.
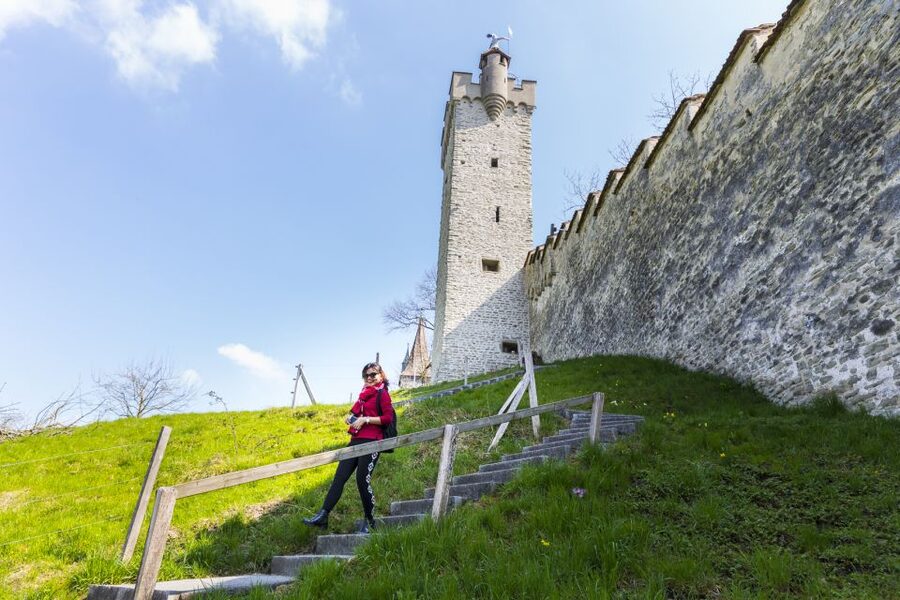
- The route covers Lucerne’s classic sights: Chapel Bridge, Lake Lucerne, the Lion Monument, Musegg Wall, Spreuer Bridge, and the Reuss River.
- A castle lift ticket is included: You get access to the castle viewpoint without paying an extra fare.
- Expect practical instruction: The professional guide offers photography tips for complete beginners and experienced photographers.
- The group is kept small: The tour is described as limited to eight participants, with other details stating no more than ten.
- The tour starts and ends at the station arch: Meet at Torbogen Luzern, directly in front of Lucerne Train Station.
Why Lucerne works so well for a photo walk
Lucerne gives you a lot of visual variety without long transfers between sights. In one short route, you can photograph water, bridges, medieval walls, painted buildings, a modern cultural center, a famous monument, and Alpine scenery.
That variety matters because good travel photography is not only about finding a famous object. It is also about changing your angle, noticing reflections, working with lines, and deciding what belongs in the frame. A guide can point out these choices while you are standing in front of the subject.
The walk is aimed at all skill levels. If you normally use your phone on automatic settings, you can still learn how to frame a stronger image. If you use a DSLR or another advanced camera, you can ask more specific questions about composition and settings. The supplied information does not promise a formal technical class, so think of this as hands-on guidance during sightseeing rather than a long classroom lesson.
You can also join without being a photographer. Non-photographer friends are welcome, making this a practical option for couples or families where one person wants instruction and the other mainly wants to see Lucerne.
More Photography Tours in Switzerland:
- Private Photo Tour LUXE CUSTOM in Geneva
★ 4.5 · 3 reviews - Private Photo Tour in Geneva
★ 3.0 · 2 reviews - Tromso: Northern Lights Photography Tour
★ 4.2 · 843 reviews
Starting at Torbogen Luzern
The meeting point is the monumental Torbogen arch in front of the main entrance to Lucerne Train Station. This is a sensible place to begin because it is easy to reach by public transport and easy to identify.
Arrive ready to walk. Comfortable shoes are specifically recommended, and you should expect a moderate amount of walking on city streets and through the Old Town. The tour returns to the same meeting point, so you do not need to arrange a separate pickup or figure out a new location at the end.
The walk lasts two hours. Starting times vary, so you need to check availability when booking. That shorter length makes the tour easy to fit into a day of sightseeing, though it also means the guide will keep the group moving.
Chapel Bridge and Lake Lucerne in the first half hour
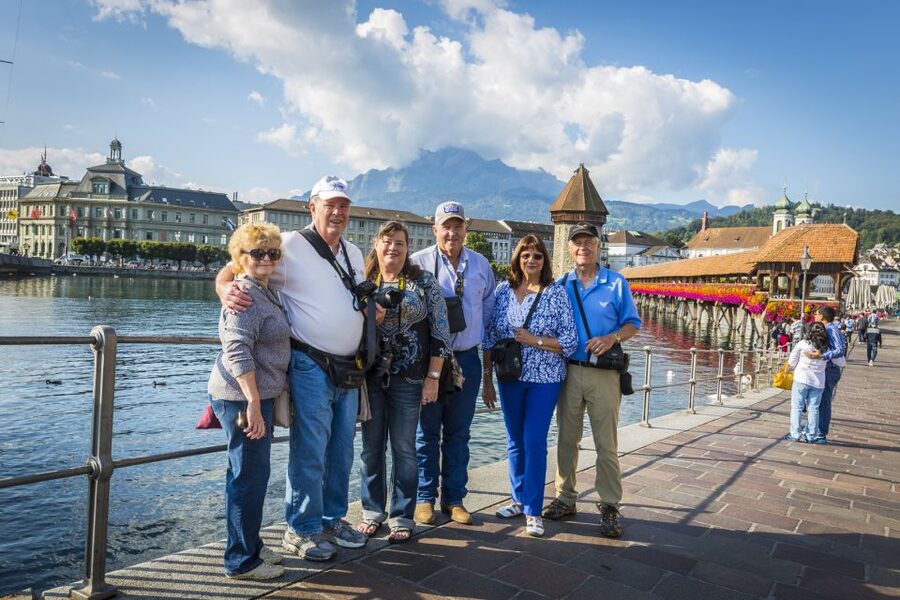
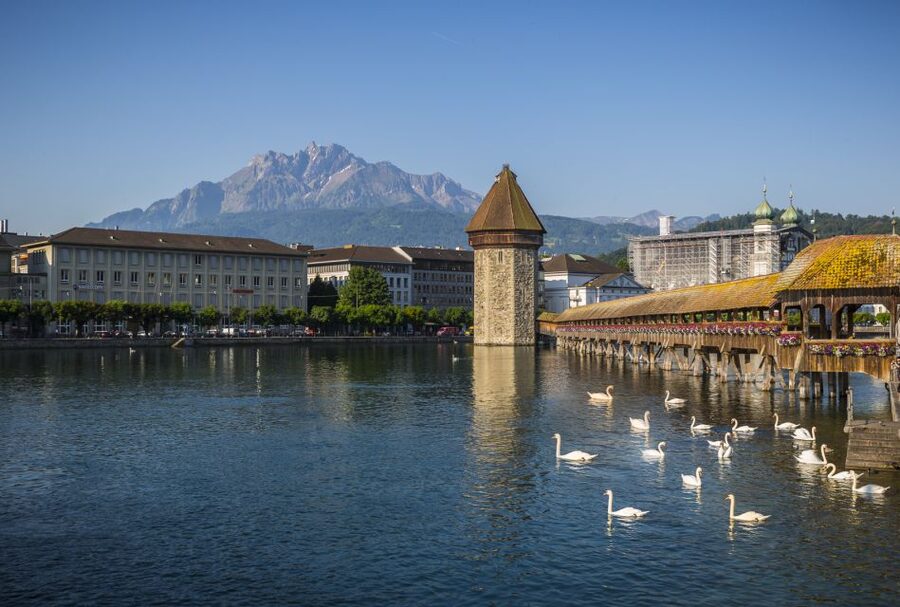
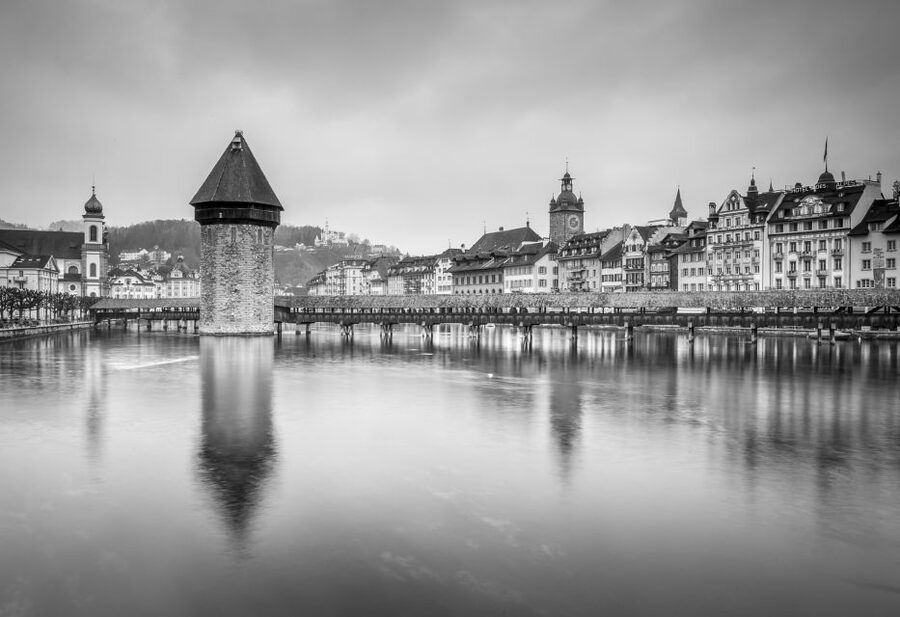
Chapel Bridge is one of Lucerne’s essential photographs, but it is easy to take the same picture everyone else takes. A photography guide can help you look beyond a quick shot of the wooden bridge and its stone tower, using the bridge’s length, roofline, river setting, and surrounding buildings to create different compositions.
The stop lasts about 15 minutes. That is enough time for a few angles and practical tips, but not enough for a long session with a tripod or repeated experiments. If you enjoy working slowly, treat this as an introduction and keep exploring the bridge later on your own.
The route then reaches Lake Lucerne for another 15-minute photo stop. The lake gives you a wider view than the tight Old Town streets, with room to work on reflections, open space, and the relationship between water and mountain scenery.
Conditions can change quickly around any lake, so the guide’s advice on framing and light may be especially useful here. You will not be promised a particular weather view, but the stop gives you a chance to photograph Lucerne in a more open setting before returning to the city’s monuments.
The Lion Monument and Lucerne’s painted Old Town
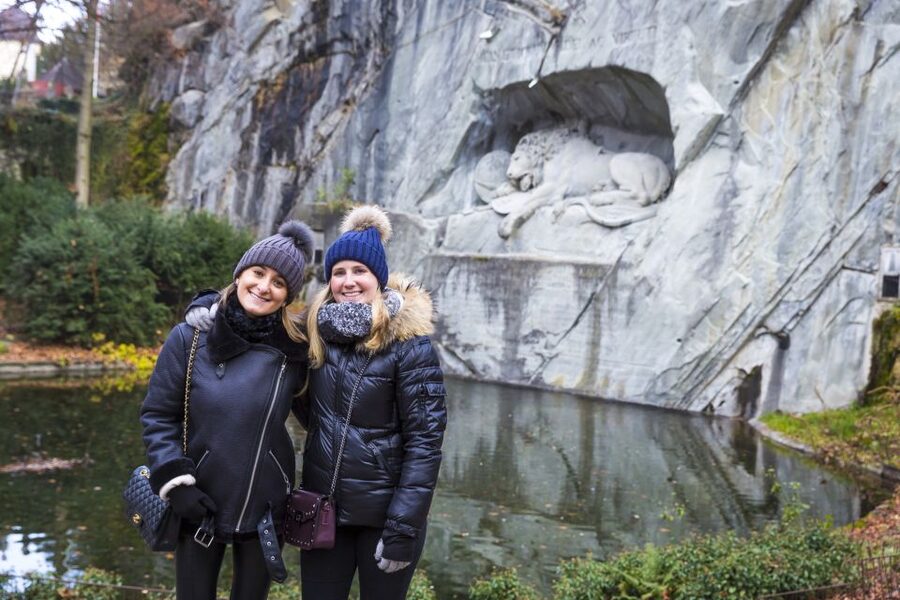
The Lion Monument is the next major stop, with about 15 minutes for a visit, guided viewing, and photography. Its carved surface and sheltered setting make it a different kind of subject from the bright lake and open river scenes.
This is a good place to think about detail. Instead of photographing only the whole monument, you can consider texture, shadows, and the surrounding stone. The guide’s role is valuable here because a small change in position can alter the balance of the image.
The nearby Old Town adds another layer to the walk. Lucerne is known for its frescoed façades, and the traffic-free streets make it easier to pause and look upward without dealing with passing cars. You may find that the most useful advice applies not to one famous monument, but to these painted buildings, narrow lanes, and small visual details between the headline sights.
The route is not simply a checklist of attractions. It shows you how to photograph a city as a collection of shapes, colors, surfaces, and viewpoints.
More photo tours and shoots in Switzerland:
- DAVOS: Paragliding For 2 Passengers – Together In The Air! (Video&Photos Incl.)
★ 5.0 · 43 reviews - Zurich: Professional Photoshoot at the Best Spots
★ 5.0 · 31 reviews - Moments in Basel: Personalized Tour & Photo Session
★ 4.5 · 15 reviews - Private Lucerne Old Town Tour w/ Local Guide & Photographer
★ 5.0 · 13 reviews
Musegg Wall and the castle lift
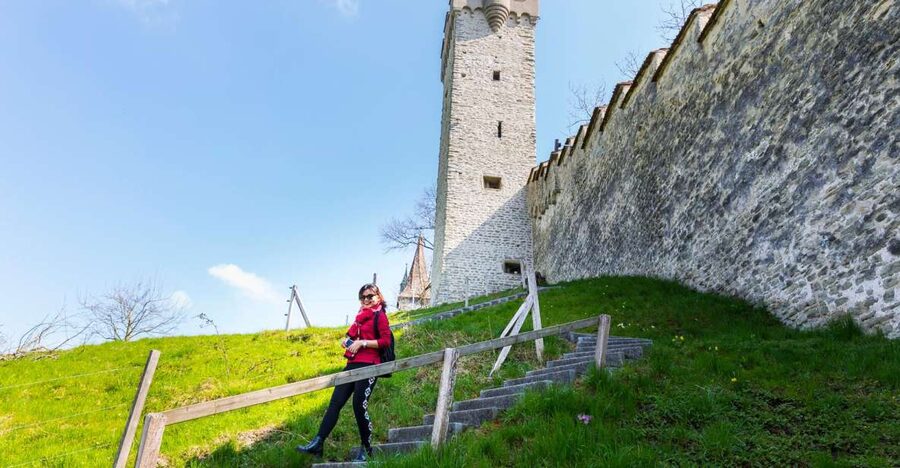
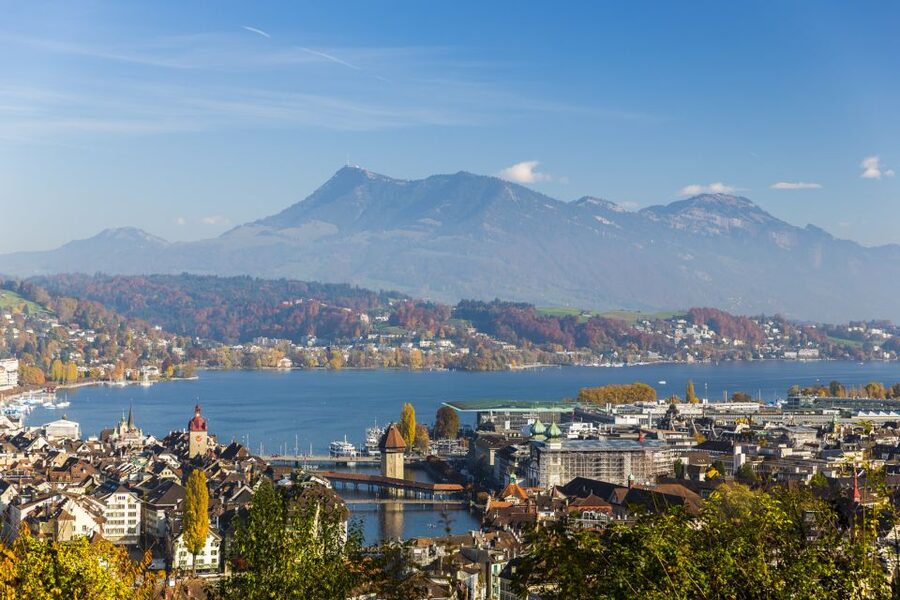
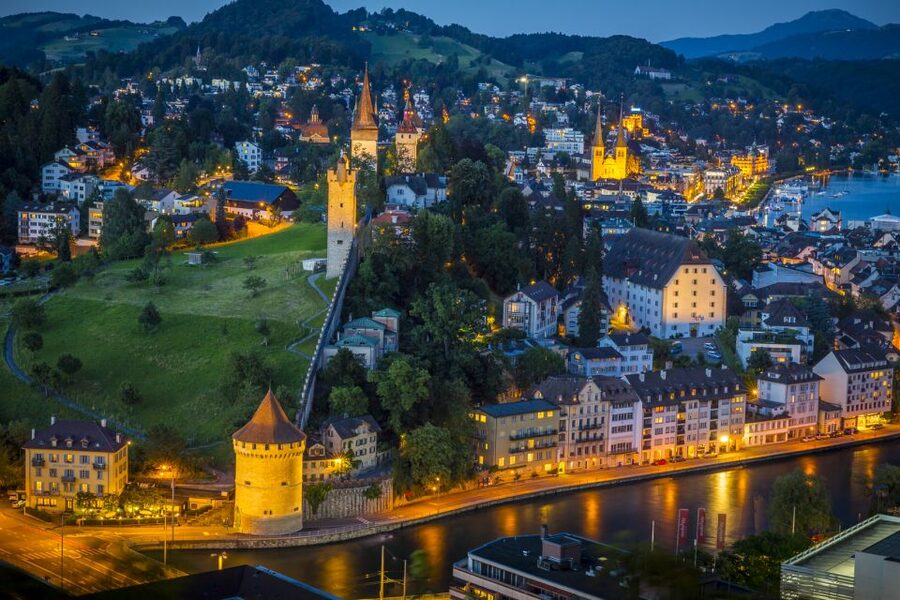
Musegg Wall receives the longest scheduled stop, about 30 minutes. That extra time is welcome. Fortified walls offer strong lines and height, while the elevated position can give you broad views over Lucerne and toward the Swiss Alps.
A ticket for the lift to Lucerne Castle is included. This is an important practical benefit because the higher viewpoint is one of the tour’s main photographic draws, and you do not have to handle a separate ticket purchase during the walk.
The castle viewpoint is also where the route may feel most rewarding for photographers who want a wider picture of Lucerne. From above, rooftops, water, walls, and distant peaks can work together in one frame. You will still need to respond to the conditions on the day, but the viewpoint gives you more options than a street-level stop.
The 30-minute allocation lets the guide offer more than a quick snap and move on. It is likely to be the best part of the tour for experimenting with composition. Keep in mind that the tour is still time-limited, so you may need to choose between several attractive views rather than photograph every one.
Spreuer Bridge and the Reuss River
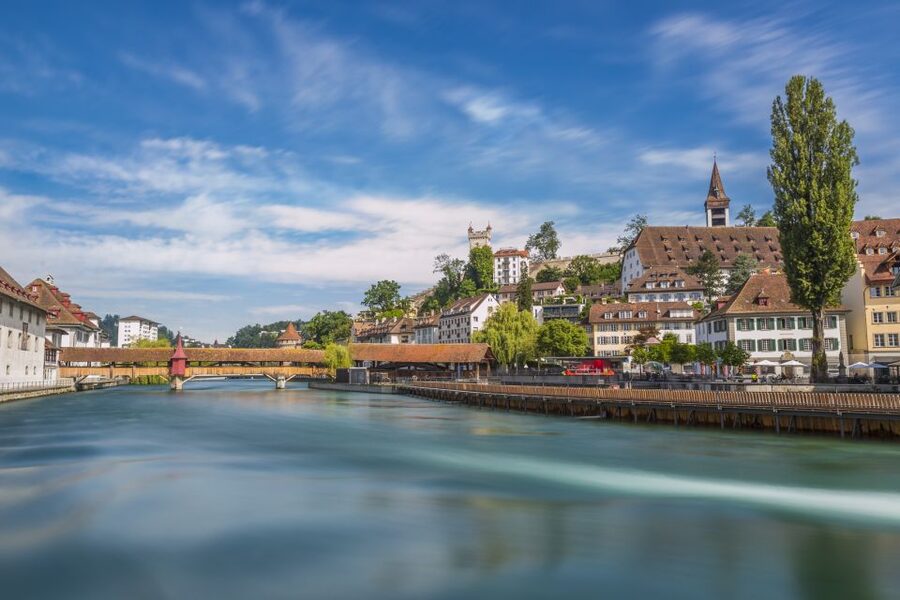
Spreuer Bridge follows with roughly 20 minutes. Like Chapel Bridge, it is a covered wooden bridge, but including both gives you a useful chance to compare two related subjects. You can look at how the bridge structure, roof, river, and nearby buildings change from one crossing to the next.
That comparison is good practice. Once you have photographed Chapel Bridge, you can apply what you learned to Spreuer Bridge while making different choices. The second bridge also helps the walk feel less like a single famous-photo stop.
The final major section follows the Reuss River for about 25 minutes. Rivers provide movement and leading lines, and the banks offer changing views of bridges, buildings, and water. This is a fitting finish because it returns photography to everyday city scenery rather than ending only at a monument.
The river stop may also give you the freedom to try the tips you have picked up earlier. Look for reflections, repeating shapes, and a clear subject. You can use the guide’s help, but you will also have a chance to make your own decisions before returning to the station arch.
What the small group changes
A small group is especially useful on a photography tour. You need a little space to hold a camera, adjust a phone, or stop for a second look. A guide can also answer individual questions more easily when the party is not large.
The activity information gives two group limits: limited to eight participants in one place and no more than ten in another. Either way, this is intended to be a small-group walk rather than a large sightseeing procession. If the exact number matters to you, confirm it when you choose your date.
The professional guide leads in English or Spanish. The supplied information does not give a guide’s name, so you should not book this expecting a particular named photographer. What is clear is that the guide is there to provide photography instruction as well as explain the sights, with help suited to both beginners and serious enthusiasts.
One posted rating describes the guide as helpful and kind. That matches what you should want from this format: practical assistance without making the tour feel like an advanced technical workshop.
How much equipment should you bring?
Bring the camera you already know how to carry. A smartphone is explicitly suitable, and a compact camera or DSLR works as well. You do not need to rent or buy special equipment for this activity.
If you use a larger camera, keep your setup simple. You will be walking, changing locations, and working within short time windows. A camera you can reach quickly is more useful here than a heavy collection of accessories.
Since food, drinks, personal expenses, transportation, and camera equipment are not included, plan to arrive with everything you need. The tour itself supplies the professional guide, photography tips, and castle lift ticket.
Is $146 good value for two hours?
At $146 per person, this is not a cheap sightseeing walk. The price makes the most sense if you place real value on personal photography help, a small group, and the included castle lift rather than treating it as a basic city tour.
You are paying for instruction and route planning as much as for the landmarks. A standard walk may show you Chapel Bridge or the Lion Monument, but this experience is designed to help you produce better images of them. That difference matters if photography is one of your main reasons for visiting Lucerne.
The value is weaker if you only want a quick introduction to the city. Two hours covers a lot, but the tour does not include food, drinks, hotel pickup, transportation, camera hire, or a meal. You are also not promised edited photographs or printed images. You finish with your own pictures and the skills you picked up along the way.
For a visitor already carrying a camera and planning to photograph Lucerne, the price can be justified. For someone who wants only a general orientation, a regular sightseeing walk may be a better fit.
Who should book this photography walk?
I would consider this tour a strong match for:
- First-time photographers who want help using a phone or basic camera
- Experienced photographers looking for better angles on Lucerne’s famous sights
- Couples or friends with different interests, since non-photographers can join
- Visitors with only two hours to spare
- Anyone who wants a castle viewpoint without arranging a separate lift ticket
It may be less suitable if you dislike walking, prefer a slow private session, or want a full technical course focused on camera settings. The route covers several stops, so the experience is active and sightseeing-led.
You should also bring comfortable shoes and be prepared for normal city walking. The tour is not described as requiring strenuous hiking, but it does include the Musegg Wall and several bridge and river sections.
Booking details that matter
You meet at Torbogen Luzern and return there at the end. Hotel pickup and drop-off are not included, so make your own way to the station arch.
The guide speaks English or Spanish. You can cancel up to 24 hours before the activity for a full refund, and a reserve-now, pay-later option is available. Those terms are useful if your Swiss itinerary is still changing, though starting times depend on availability.
Check the exact group size, language, and departure time before paying. Bring comfortable shoes, your preferred camera, and enough battery for two hours of use.
Should you book it?
Book this walk if you want to photograph Lucerne rather than simply pass its sights. The strongest reasons are the practical guide support, the small group, the wide range of subjects, and the included lift to the castle viewpoint.
I would especially recommend it to a smartphone photographer who wants better travel pictures without technical jargon. Experienced users can also benefit, but should understand that two hours and several stops leave limited time for detailed one-to-one instruction.
Skip it if your main goal is the lowest-cost way to see the Old Town. At $146, this is a specialist sightseeing experience. For the right visitor, though, it turns Lucerne’s bridges, walls, lake, and river into a practical outdoor photography lesson.
FAQ
How long does the Lucerne Photography Walking Tour last?
The tour lasts two hours. Starting times vary, so check availability for your chosen date.
Where does the tour start and finish?
It starts at the monumental Torbogen arch in front of the main entrance to Lucerne Train Station and ends back at the same meeting point.
What sights are included on the route?
The route includes Chapel Bridge, Lake Lucerne, the Lion Monument, Musegg Wall, Spreuer Bridge, and the Reuss River. It also includes views from the castle.
Do I need photography experience?
No. All camera skill levels are welcome, and the guide provides photography tips for beginners and serious photography enthusiasts.
Can I use a smartphone instead of a camera?
Yes. You can bring a smartphone, compact camera, professional camera, or DSLR.
Is the castle lift ticket included?
Yes. The ticket for the lift to Lucerne Castle is included in the activity price. Food, drinks, personal expenses, transportation, camera equipment, and optional tips are not included.
Just added around Switzerland
- Private Photo Tour LUXE CUSTOM in Geneva★ 4.5 · 3 reviews
- Private Photo Tour in Geneva★ 3.0 · 2 reviews
- Bern Private Photoshoot with Optional Picnic by the River★ 5.0 · 3 reviews
- Lucerne: Lake Cruise & Old Town Tour w/ Guide & Photographer★ 5.0 · 3 reviews
- Private Lucerne Old Town Tour w/ Local Guide & Photographer★ 5.0 · 13 reviews
- Lauterbrunnen & Wengen: Photoshoot at the best spots.★ 5.0 · 9 reviews
- Instagram tour of Zurich with a private photographer★ 5.0 · 2 reviews
- Grindelwald: Private Photoshoot by Professional Photographer★ 5.0 · 2 reviews
Photography Tours, side by side.

Rhodes: E-bike Highlights Sunset or Morning Photo Tour
Read our review →
Lists this one turns up in