Review · NIGHT & ASTRO PHOTOGRAPHY
Amsterdam Night Photography Workshop with a Professional
Amsterdam after dark is a fine classroom. Canal lights, reflections, old façades, and moving people can turn into striking photographs, but only if you know how to handle exposure and find the right angle. This 90-minute workshop pairs those practical skills with a walk through the city, beginning at Amsterdam Centraal and including the Red Light District.
I like the small maximum of five, which gives you a real chance to ask questions. I also like that David can provide a tripod, making long exposure work possible even if you packed only a phone or camera. The late 9:30 pm start and outdoor format are the main considerations, especially if the weather turns poor or you prefer an early evening.
Key points to know before you book
- David teaches from practice: He is a university lecturer with 15 years of professional photography experience.
- The group is limited to five: That keeps the instruction personal and makes it easier to get help with camera settings.
- A tripod is available: You can take part even if you do not bring all your own equipment.
- The Red Light District is part of the route: Expect an after-dark Amsterdam setting rather than a daytime sightseeing walk.
- The workshop covers more than camera buttons: Composition, depth, location choice, and manual shooting all come into play.
- The start time is 9:30 pm: Plan for a late night, with the activity lasting about one and a half hours.
Why Amsterdam works so well after dark
Night photography asks you to slow down. In daylight, you can often point, shoot, and move on. After sunset, you need to think about light, shutter speed, stability, reflections, and the balance between bright lamps and dark streets.
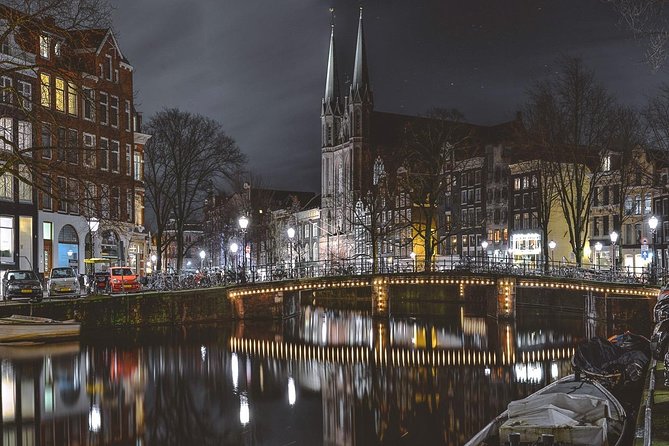
Amsterdam gives you plenty to work with in a compact area. Water can reflect lights. Narrow streets can frame bright windows and illuminated façades. Passing people and bicycles may become soft streaks during a long exposure. You do not need a grand viewpoint to make a good image, and that is part of the appeal.
This workshop is built around both halves of the job: how to shoot and where to stand. David’s role is not simply to take you outside and hope the city provides the picture. He brings local knowledge of Amsterdam photography spots and helps you understand why one position works better than another.
That matters for beginners. A camera manual may explain aperture and shutter speed, but it cannot tell you which side of a canal gives the cleaner reflection or how to frame a busy street at night. A guide who combines technical advice with location sense can save you plenty of trial and error.
More Night and Astro Photography in Amsterdam:
- Mauna Kea Stargazing Experience + Photos
★ 5.0 · 261 reviews - Tokyo by Night Photography Tour (Private Option Available)
★ 5.0 · 151 reviews - Tokyo Shinjuku Night Photo Tour with Pro Gota
★ 5.0 · 142 reviews
Starting at Amsterdam Centraal at 9:30 pm
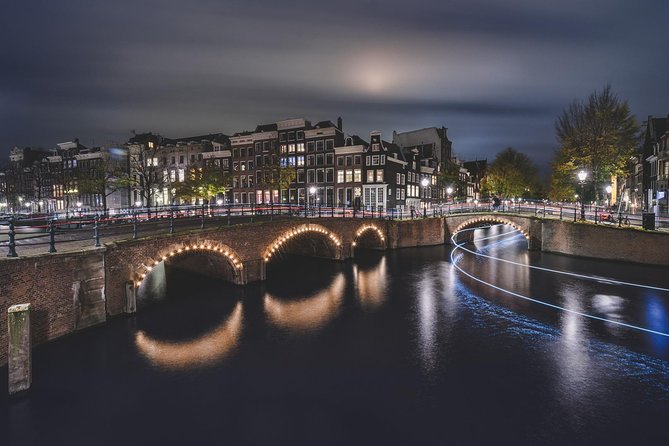
The meeting point is on Stationsplein, near Amsterdam Centraal Station. The stated start time is 9:30 pm, and the activity ends back at the meeting point.
That location is practical if you are already in central Amsterdam or arriving by public transport. It also makes the timing easy to understand: this is a true night outing, not a sunset photo walk. You should arrive with enough time to find the meeting point without rushing, since the one negative account describes a serious disagreement over the meeting location and timing.
That problem appears to have been a missed meeting rather than an issue with the photography instruction, but it points to a useful precaution. Confirm the meeting details before setting out, keep your phone available, and arrive early. A small group of five cannot easily wait for a late arrival, and the guide reported waiting an extra 20 minutes in one disputed case.
The late hour can be a plus. The city has a different look once the daytime sightseeing crowd thins out, and the darkness gives the workshop its purpose. It can also be tiring after a full day of museums and walking. If you want an easygoing final activity, this may feel demanding. If you want to make better images, the timing is exactly the point.
The Red Light District through a camera lens
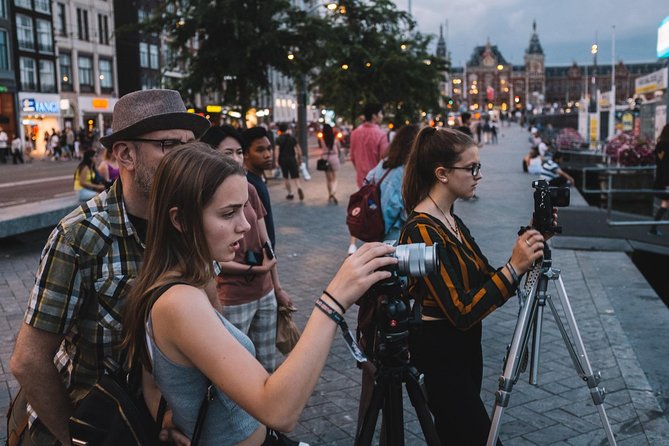
The Red Light District is the named stop on the route. Its narrow streets, colored lights, canals, and strong contrasts provide plenty of material for night photography. It is also a place where you need to be alert and respectful.
This is not presented as a history tour or a nightlife crawl. The focus is photography. You will be working with light and composition in an area that has an unmistakable atmosphere, so listen carefully to any guidance about where to point your camera and how to behave.
The district can help you practice several useful techniques. Bright signs against dark surroundings test exposure. Reflections can add depth. A slower shutter speed may blur movement, while a steadier setup can keep buildings sharp. These are practical lessons you can use later in any city.
The supplied details do not promise a fixed list of several named locations, so you should not expect a rigid sightseeing route. David describes knowing many Amsterdam locations and has taken participants to quieter spots as well as strong photo positions. The exact path may depend on conditions, group interests, and the night itself.
That flexible approach is useful if you care more about making pictures than checking off landmarks. It is less suitable if you want a full guided tour of Amsterdam’s major sights.
What David teaches in 90 minutes
David is identified as a professional photographer and university lecturer, with 15 years in the photography industry. The instruction is aimed at all levels, from absolute beginners to people who already work with cameras professionally.
For a beginner, the most helpful part may be learning how to control the camera manually. Night scenes can confuse automatic settings because a bright lamp and a dark street appear in the same frame. You may work on shutter speed, aperture, focus, and stability, rather than accepting the camera’s first guess.
For a more experienced photographer, the value shifts toward composition and location choice. One participant found the discussions about depth, composition, and equipment especially useful. Another singled out David’s composition tips and the quality of the photo positions.
I like that the teaching seems practical rather than lecture-heavy. Participants are shown how to carry out the shot, then get advice while doing it. That style suits anyone who learns more from pressing the buttons and seeing the result than from reading technical explanations.
The short duration keeps the session focused, but it also limits how far the teaching can go. Ninety minutes is enough for a useful introduction and several carefully chosen photo opportunities. It is not enough for a full course in night photography, advanced editing, or a long tour across Amsterdam.
More Photography Workshops and Lessons in Amsterdam:
- Amsterdam Photography Masterclass – Private Photography Lesson
★ 5.0 · 32 reviews - Amsterdam: Photography Masterclass – Private Photo Lesson
★ 5.0 · 2 reviews - Paris Photography Masterclass – Private Photography Lesson
★ 5.0 · 112 reviews - 2-Hour Photography Class While Touring Downtown Santa Fe, Smart Phones Welcome!
★ 5.0 · 108 reviews
Equipment, tripods, and the value for your money
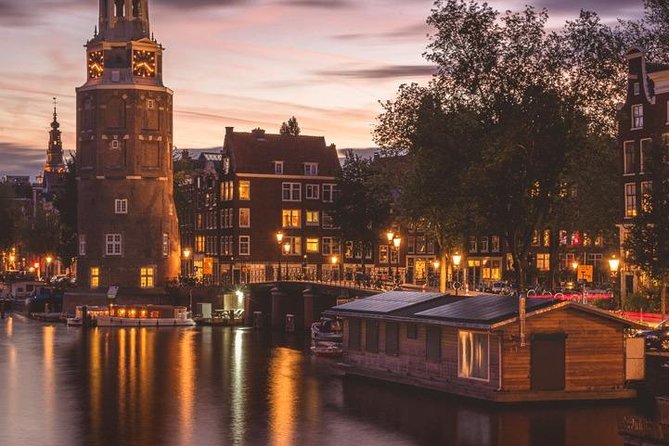
The price is $114.39 per person. That is not a casual add-on for a night walk, so the value depends on what you want from the experience.
If you already know your camera well and mainly want someone to point out places to photograph, the cost may feel high for 90 minutes. If you are trying to understand manual shooting and long exposures, the personal instruction changes the calculation. You are paying for a small group, a professional guide, location advice, and the chance to use a tripod.
The equipment policy is a real advantage. You may bring your own gear, and equipment can be borrowed so that lack of a tripod does not automatically rule you out. One participant specifically noted that David provided a tripod and offered setting suggestions for better results.
You should still clarify what equipment is available for your particular needs before booking if you have a specialized setup. The supplied information confirms that equipment can be borrowed, but it does not give a full inventory or promise a particular camera model.
The strongest value comes when you take the lessons beyond Amsterdam. Understanding how to make a long exposure, steady a frame, and judge a composition can improve your photos on future trips. If you only want a few quick snapshots for social media, a paid workshop may not be the best use of your budget.
The small group makes a difference
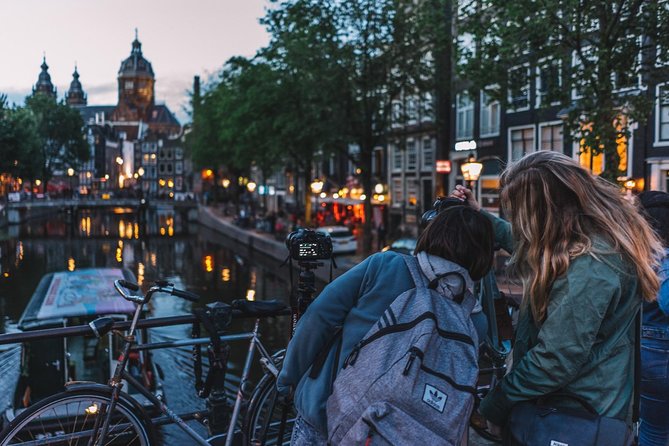
The maximum group size is five. That is one of the best features of this activity.
With a large group, a photography lesson can become a series of general announcements. You may hear the right advice but have little time to show your own camera screen or ask why your image looks too dark. Five people gives David a better chance to work directly with each participant.
The small size should also make the walk easier to manage in narrow central streets. You will not be part of a large crowd moving from one stop to another, and the route can respond to the interests and skill levels in the group.
There is one practical limit. The experience requires a minimum number of participants, so it can be canceled if that number is not met. If poor weather causes a cancellation, you are offered another date or a full refund. The same applies if the minimum group size is not reached.
The activity is available in English. Most people can participate, and service animals are allowed. Since the workshop takes place outdoors at night and involves walking between photo locations, you should be comfortable with that format.
What kind of images can you work on?
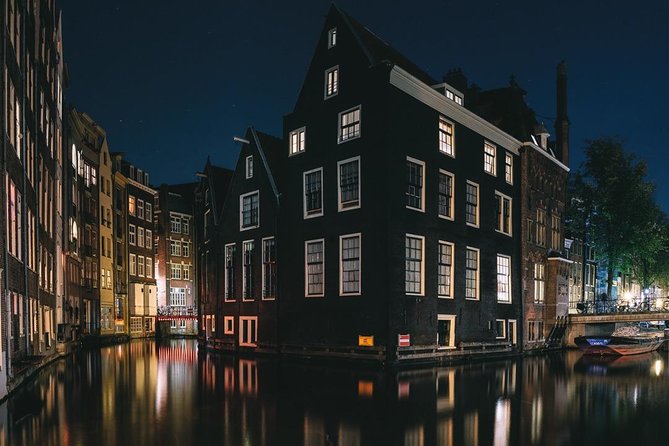
The workshop’s strongest subjects are the basic building blocks of urban night photography:
- Long exposures that show moving light or soften activity
- Reflections in Amsterdam’s canals and wet streets
- Bright lamps and signs set against darker surroundings
- Framing narrow streets, façades, and canals
- Depth created by placing foreground and background elements together
- Composition choices that make a familiar view feel less ordinary
These are not guaranteed shot types, since light and weather change. They are the kinds of problems the setting lets you practice.
You may also learn that a good night photograph is often made before you touch the shutter. Choosing the right position can matter more than owning an expensive camera. David’s local knowledge is most useful here. He can help you move beyond the obvious angle and find quieter perspectives.
The emphasis on composition is especially useful. Many beginners think night photography is mainly about using a slow shutter speed. In practice, a technically sharp photograph can still be dull if the frame has no depth or clear subject. Advice about where to stand, what to leave out, and how to use light can improve your results faster than another camera accessory.
Who should book this workshop?
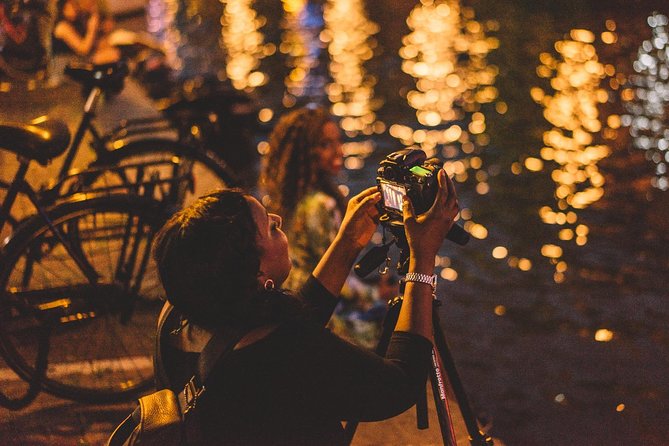
I would recommend it most strongly to people who meet one of these descriptions:
- You are new to manual camera settings.
- You want to understand long exposure photography.
- You are visiting Amsterdam with a camera and want more than standard daytime pictures.
- You learn best by doing rather than reading.
- You already photograph regularly but want fresh ideas about composition and urban locations.
- You want a private-feeling small group without paying for a fully private tour.
It also suits couples or friends with different skill levels, since the instruction is designed for beginners through advanced photographers. You do not need to be a serious photographer to join, but you should have some interest in learning.
I would hesitate if you dislike late starts, outdoor activities, or the uncertainty of weather. I would also think twice if your main goal is general Amsterdam sightseeing. The photography purpose comes first, and the route is not described as a broad city tour.
Weather, timing, and cancellation rules
Good weather is required. That makes sense for an outdoor photography activity, since rain, poor visibility, or unsafe conditions can spoil both the walk and the equipment.
If the operator cancels because of weather, you are offered a different date or a full refund. A cancellation can also happen if the minimum number of participants is not reached, with the same choice of another date, another experience, or a full refund.
You can cancel for a full refund up to 24 hours before the local start time. Changes or cancellations inside that 24-hour window are not accepted and are not refunded. Keep that deadline in mind when planning around a changeable Amsterdam forecast.
Should you book the Amsterdam night workshop?
Book it if you want hands-on instruction, a very small group, and a better understanding of how to make night photographs rather than simply collect city views. David’s experience, practical setting advice, composition tips, and access to a tripod make the $114.39 price easier to justify for anyone serious about improving.
Skip it if you want a cheap evening stroll, a standard sightseeing tour, or a guaranteed route through a long list of landmarks. The late 9:30 pm start and weather dependence also deserve attention.
For the right person, this is a focused way to see Amsterdam with a camera in hand. You leave with more than pictures from one night: you can take the same ideas about exposure, depth, stability, and position to your next city.
FAQ
Where does the Amsterdam night photography workshop begin?
It begins at Stationsplein, 1012 AB Amsterdam, near Amsterdam Centraal Station.
What time does the workshop start?
The scheduled start time is 9:30 pm.
How long does the experience last?
It lasts approximately 1 hour and 30 minutes.
Where does the activity finish?
The workshop ends back at the meeting point.
What area is included in the route?
The Red Light District is listed as a stop. The guide also takes participants to selected Amsterdam photography locations, including quieter spots.
Who leads the workshop?
The workshop is led by David, a professional photographer and university lecturer with 15 years of experience in the photography industry.
Do I need to bring my own photography equipment?
You can bring your own equipment, but equipment can also be borrowed so you can take part without bringing everything yourself. A tripod has been provided during the workshop.
How many people can join?
The maximum group size is five participants.
What happens if the weather is poor or the minimum group size is not reached?
The activity may be canceled. You will then be offered a different date or a full refund. You can also cancel up to 24 hours before the start time for a full refund.
More Evening Trips around Amsterdam
- Vacation Night Photoshoot & Tour in Amsterdam
★ 5.0 · 13 reviews - Rhodes: E-bike Highlights Sunset or Morning Photo Tour
★ 4.9 · 351 reviews - Cappadocia Sunrise & Sunset Horse Tour with Photography
★ 4.9 · 348 reviews - Mediaeval Rhodes E-bike Highlights Photo Tour Morning/Sunset
★ 5.0 · 164 reviews
Just added around Amsterdam
- Exceptional Photography Experience★ 5.0 · 6 reviews
- Vacation Photoshoot & Tour in Amsterdam★ 5.0 · 36 reviews
- Personalized Amsterdam Photoshoot with Professional Photographer★ 5.0 · 2 reviews
- Professional Tinder Photo Session in Amsterdam★ 5.0 · 4 reviews
- Memories for life – Photo shoots in Amsterdam with a professional photographer★ 5.0 · 5 reviews
- Personal Travel and Vacation Photographer Tour in Amsterdam★ 5.0 · 15 reviews
- Professional Photo Shoot in Amsterdam★ 5.0 · 38 reviews
- Romantic Photoshoot Experience for Couples in Amsterdam★ 5.0 · 4 reviews
Night & Astro Photography, side by side.
Tokyo by Night Photography Tour (Private Option Available)
Read our review →
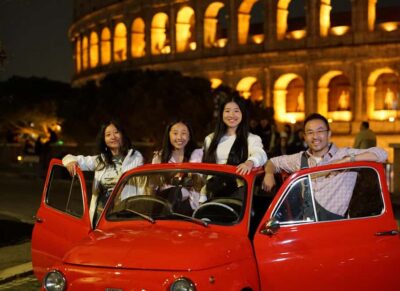
Night Photo Session in a Fiat 500 with Aperol Spritz
Read our review →
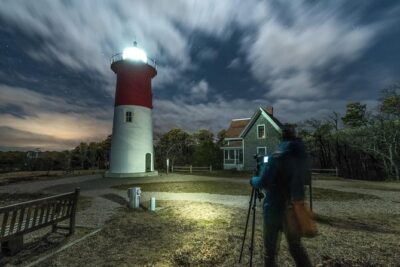
Private Guided Night Photography Tours on Cape Cod (for one photographer.)
Read our review →