
Review · NIGHT & ASTRO PHOTOGRAPHY
Moab: The Windows Astro-Photography and Stargazing Hike
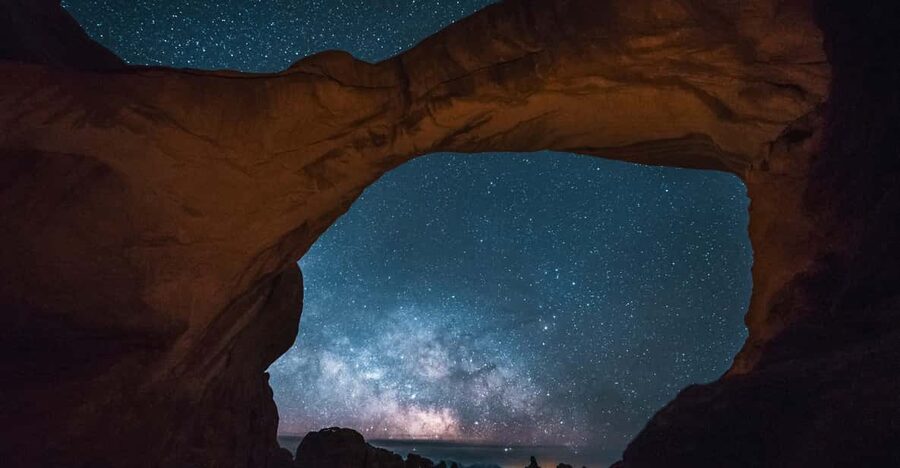
The Milky Way, red rock arches, and a trail lit only by a headlamp make this two-hour night hike far more than a standard photo lesson. You walk through The Windows area after dark, stopping at North Window, South Window, Turret Arch, and Double Arch while learning how to photograph the sky.
I like the small group limit of six, which gives your guide time to work with your camera or phone. I also like that tripods and red LED headlamps are included, so you do not need a full kit of night-photography gear. The main catch is that this is a roughly two-mile hike over dark, uneven ground, and the sky may not look as dark as you expect during a bright-moon night.
Key points at a glance
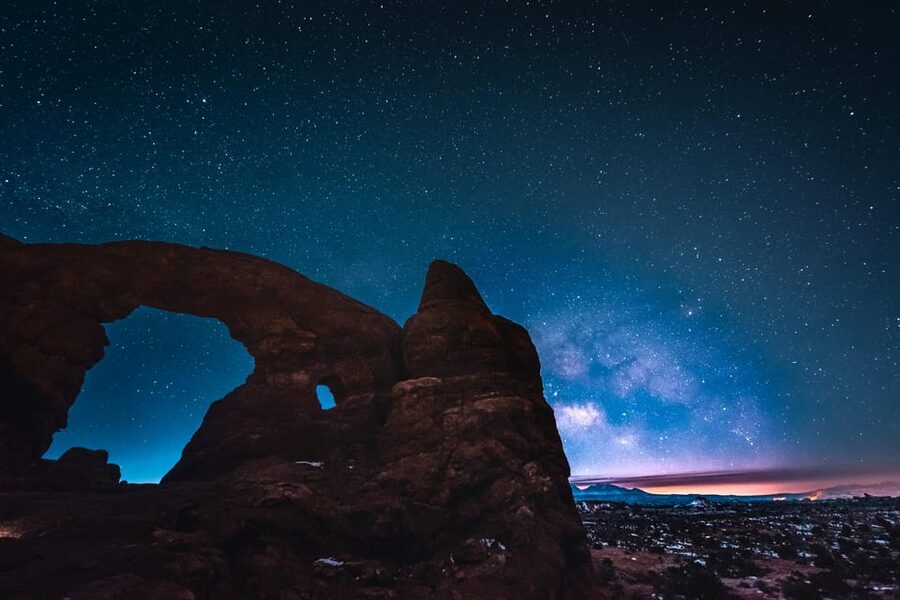
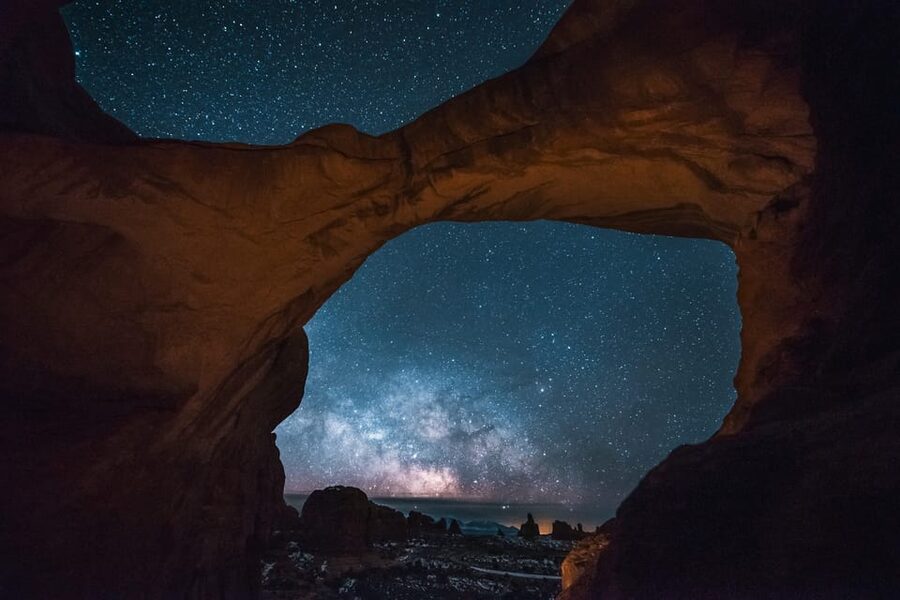
- Double Arch is the photographic finale: The tour saves a major highlight for the end, when you can frame the arch beneath the night sky.
- Your phone can be enough: Guides Sam and Brandon have helped visitors use iPhones and other smartphones for strong night images.
- The group is limited to six: That small size matters when everyone needs help with manual settings, focus, and framing.
- Red headlamps protect your night vision: The included lights help you walk safely without flooding the trail with harsh white light.
- Moon phase changes the experience: A dark moon can reveal more stars, while a full moon lights the rock and makes the hike easier to see.
- Camera rentals are available: You can arrange a DSLR camera or a Canon EF/EFS or Nikon F lens for an extra fee.
Why a night walk through The Windows feels different
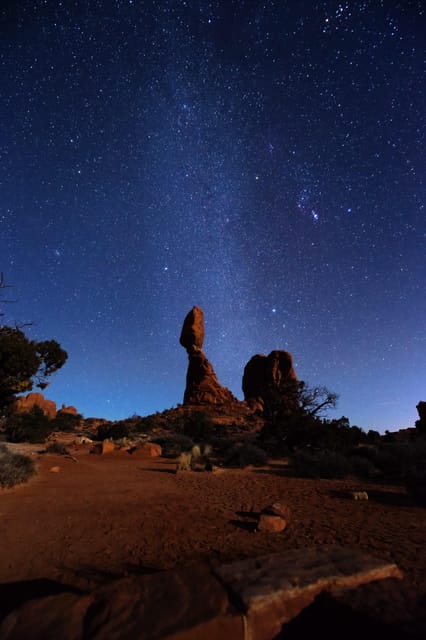
Arches National Park is famous for its daylight color and bold shapes. After dark, the same place becomes quieter and less obvious. You pick out the trail with a red light, see the rock as a black outline against the stars, and begin to notice how much the night changes your sense of distance.
The appeal is not only the Milky Way. A full moon can wash the red rock in soft light, and the stars can still show above it. During one outing, the group even saw the northern lights, though that was an unusual stroke of luck rather than something you should expect on every visit.
Your guide also helps you look up, not just at your camera screen. You may learn to identify constellations, hear about the forces that shaped the arches, and see the park as a place of geology and sky rather than a series of daytime viewpoints.
The activity takes place far from city lights, but your photographs may reveal faint light that your eyes cannot see. This is an important point for first-time night photographers. Your camera gathers light over several seconds, so an image can show more stars, color, and detail than you noticed while standing there.
More Night and Astro Photography in the USA:
- Mauna Kea Stargazing Experience + Photos
★ 5.0 · 261 reviews - Private Guided Night Photography Tours on Cape Cod (for one photographer.)
★ 5.0 · 38 reviews - Brooklyn Bridge at Night Photography Tour
★ 5.0 · 10 reviews
Meeting at the Windows trailhead after sunset
You meet your guide in the first parking lot on the right at The Windows parking area. Transportation is not included, so you need to reach Arches National Park and the trailhead on your own. You also need to pay the park entry fee, listed as $30 per standard vehicle, unless you already have suitable park admission.
The exact start time changes with availability and sunset. Since you are meeting after dark, give yourself enough time to reach the parking area, organize your gear, and avoid a rushed start. A charged smartphone is useful for directions and emergency contact, but the tour itself is conducted in English.
At the trailhead, your guide distributes red LED headlamps and tripods as needed. The red light is practical rather than flashy. It helps you see where you are walking while reducing the glare that can spoil your view of the sky and distract other people in the group.
The guide then checks your camera setup and introduces the basic controls needed for night photography. If you want to rent a DSLR camera or lens, arrange that before the tour begins. Available lens mounts include Canon EF/EFS and Nikon F, so check compatibility before paying for a rental.
Learning night photography without a complicated lecture
The best part of this tour is the hands-on teaching. You do not simply listen to a talk about stars and then walk away. You set up your own camera, try a shot, look at the result, and adjust.
Your guide can explain the fundamentals of focusing in the dark, holding the camera steady, and choosing settings that let in enough light. The small group format is especially useful here. With no more than six people, the guide has a reasonable chance to help you one at a time instead of offering only general advice.
Sam has been praised for helping people with both cameras and phones. Brandon has also spent time showing iPhone users how to get stronger night images. That makes the experience less intimidating if you do not own a DSLR.
A phone will not give you the same control as a full camera, but the guide can still help you use the features available on your device. Bring your own camera and make sure it is charged. If you plan to use a phone, bring it fully charged as well, since cold conditions, long exposures, and repeated attempts can use power quickly.
This is not a formal technical course with a long classroom session. The instruction happens beside the arches, in the dark, as you work. That is a good fit if you learn by doing. It may feel too brief if you want an advanced workshop focused on complex editing or professional equipment.
North Window and South Window under the stars
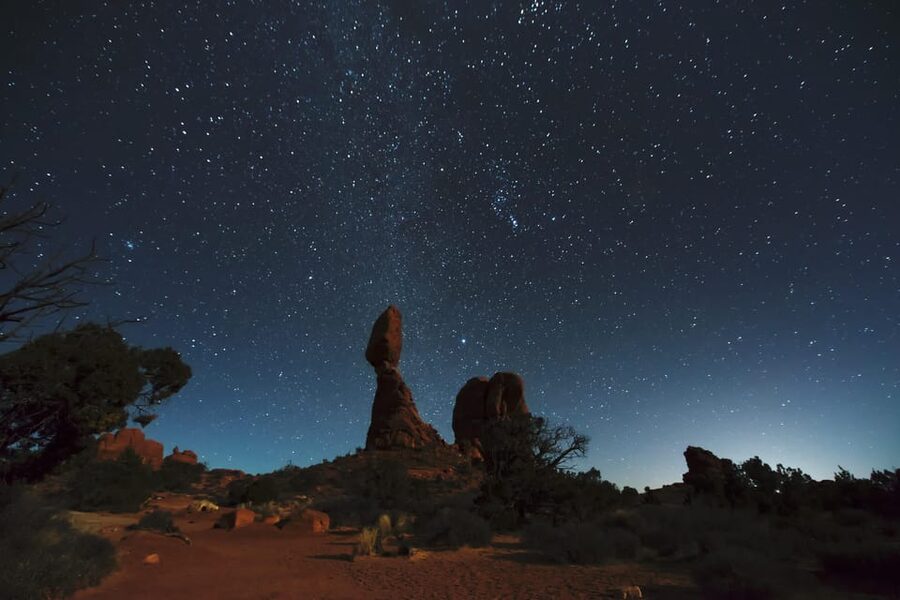
The route begins in the Windows area, a rock garden filled with large formations and open spaces. Your guide leads you toward North Window and South Window, two of the defining arches in this part of the park.
In daylight, these arches are easy to understand. At night, their scale becomes harder to judge, which gives the walk a different character. Your headlamp shows only a small part of the path, while the arches rise as dark shapes around you. Your guide points out drop-offs and helps you stay on the safe route.
This is where sturdy hiking shoes matter. The tour involves roughly two miles of walking, and darkness makes ordinary trail details harder to see. The experience is not described as suitable for people with mobility impairments or wheelchair users, and children under six cannot join.
There is time to practice before moving on. You can adjust your composition, try a longer exposure, and compare what you see on the camera screen with what your eyes see overhead. Do not expect every frame to work on the first attempt. Night photography rewards patience, and a guided setting gives you someone to ask when the screen is black or the stars look blurred.
More Hikes and Treks around the USA:
- Antelope Canyon X Hiking Tour (with Option Upgrade to Photo Tour)
★ 4.5 · 161 reviews - Sunset Hike and Photography Tour near Red Rock with Optional 7 Magic Mountains
★ 5.0 · 149 reviews - Sunset Hike and Photography Adventure in South Lake Tahoe
★ 5.0 · 74 reviews - Las Vegas: Sunset Hike and Photography Tour Near Red Rock
★ 4.7 · 67 reviews
Turret Arch and the geology of the route
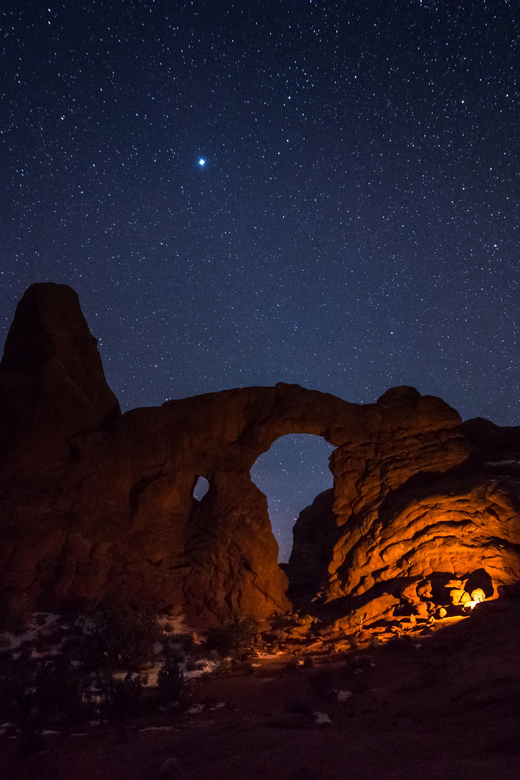
Turret Arch adds another shape to the walk, with the dark sky providing a strong background for photography. Your guide can connect the formations to the extreme forces that created the arches, giving the photo stops some context.
The geology matters because the tour is not only about filling a memory card. You are moving through a place shaped by erosion and time, then photographing it under conditions that hide many of the details you saw during the day.
You may find that the moon changes how you view this section. On a darker night, the stars take center stage. Under a full moon, the formations become easier to see, and the rock may appear more clearly in your images. The activity provider encourages photographers to come at any point in the lunar cycle because each phase gives the park a different look.
If your main goal is a dense Milky Way image, ask about the darker-sky option before booking. The provider can help decide if the timing and conditions suit what you want. A bright moon is not a failure, but it does change the balance between rock detail and stars.
Double Arch provides the big final frame
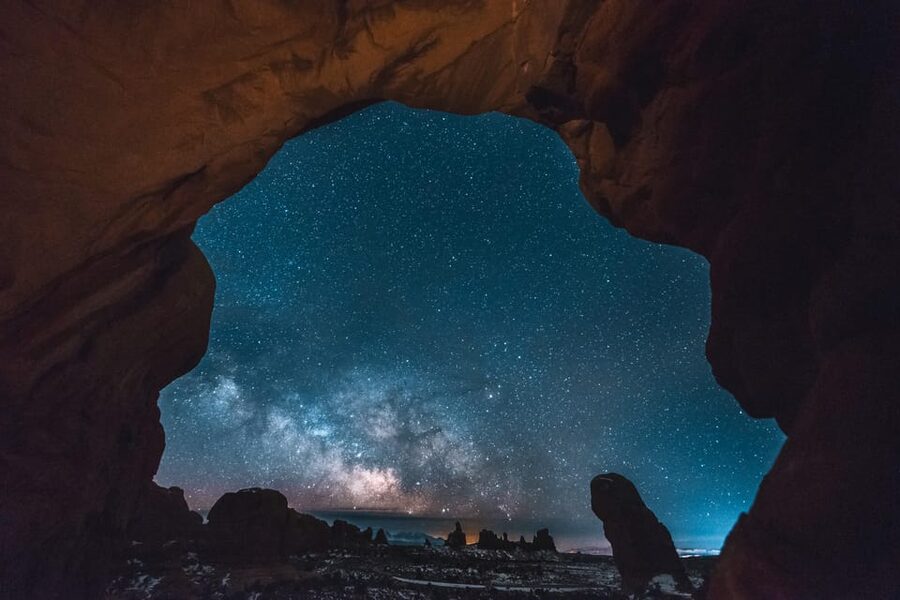
Double Arch is the highlight of the area and the final major stop described for the route. Its paired openings offer a powerful subject for night photography, especially when the sky is clear.
This is where the included tripod becomes most useful. A steady camera lets you make longer exposures without turning the stars into a shaky blur. You can also take time to test different compositions rather than firing off a quick picture and moving on.
The exact final image depends on the moon, cloud cover, your equipment, and your settings. The guide can help, but no tour can guarantee a clear Milky Way or a perfect photograph. That honest limitation matters. Weather and sky conditions are part of the experience, and even an image that does not meet your original plan can still record a memorable night in Arches.
One past participant rented a camera and had the guide edit a few pictures. Editing is not listed as a standard part of the tour, so you should not book expecting a full post-processing service. Still, the example shows the sort of extra help that may be possible when you discuss your needs with the provider.
What $175 buys you
At $175 per person, this is not a cheap add-on to a park visit. You are paying for a guide, a small group, practical instruction, red headlamps, and a tripod if you need one. You are also paying for access to a focused experience that would be difficult to reproduce alone if you are unfamiliar with the trail or night-camera settings.
The value is strongest for beginners. A first attempt at astrophotography can involve confusing camera menus, missed focus, a shaky tripod, and a long walk in the dark. A patient guide can save you from spending the whole evening guessing.
The price is less compelling if you already know how to shoot stars, own a tripod, and feel comfortable navigating The Windows at night. In that case, you may prefer to visit independently, provided you follow park rules and feel confident with the conditions.
Remember that the $175 does not include park admission, transportation to the meeting point, or optional DSLR equipment. A rental camera or lens adds to the cost. Ask about that extra fee before the outing so your final budget is clear.
What to bring for a comfortable two-mile hike
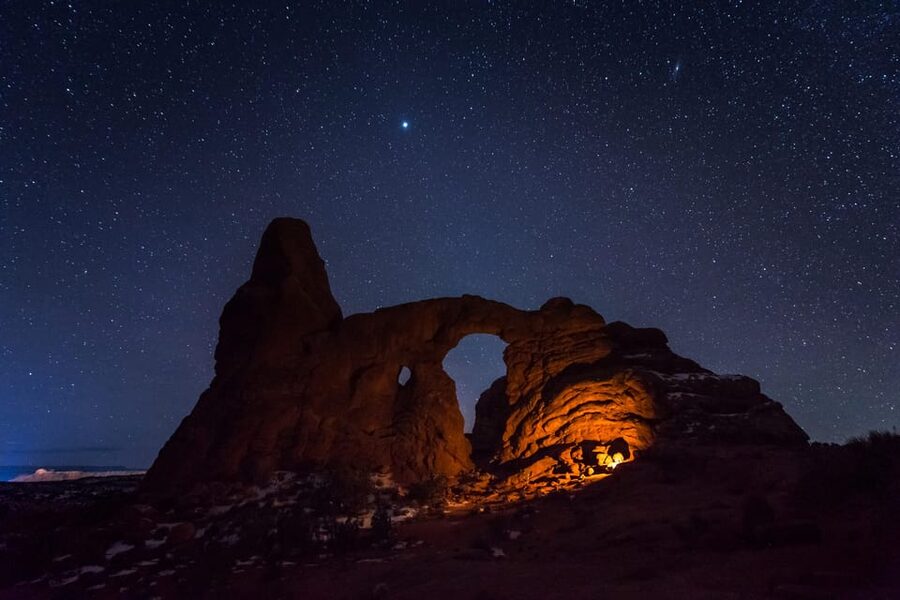
Keep your equipment simple. Bring the camera you know how to operate, rather than borrowing a complicated setup at the last minute unless you have arranged a rental and received help with it.
You should bring:
- Hiking shoes with good support
- Water
- A charged smartphone
- Your camera and any compatible accessories
- Warm layers suitable for the evening conditions
The supplied red headlamp and tripod reduce the amount of gear you need to carry. The guide can provide a tripod if needed, but you still need to handle your own camera and walk over uneven ground.
Pets are not allowed. The activity is also not intended for wheelchair users, people with mobility impairments, or children under six. Those limits are worth taking seriously because the trail is dark and the outing involves active walking rather than a viewpoint reached by vehicle.
How the moon and weather affect your photographs
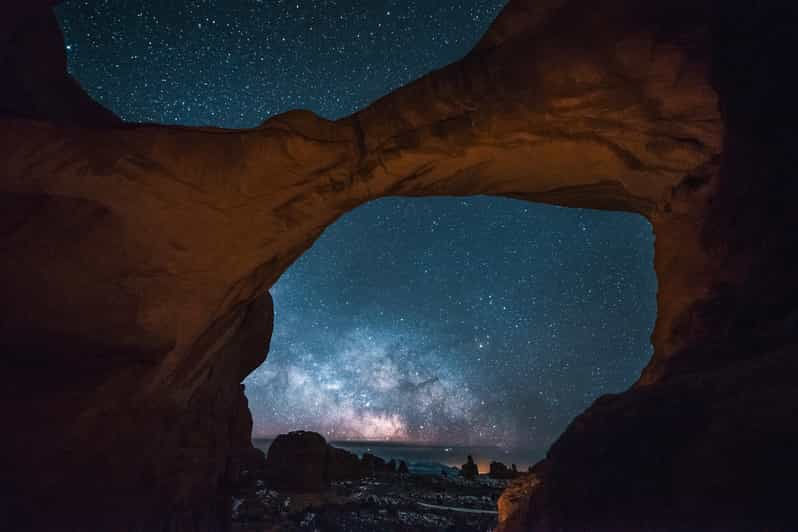
A dark night usually gives you the strongest chance of seeing a dense field of stars and the Milky Way with your eyes. It can also make the rock formations harder to see while walking, which is why the red headlamp and guide matter.
A full moon gives you a different reward. It can light the arches and make the route feel less shadowy. One group found the full-moon setting beautiful, and that kind of night can produce a balanced image of rock and sky rather than a mostly black foreground.
Clouds and changing conditions can affect what your camera records. A picture may show light that was invisible to you, but that does not mean every shot will reveal the sky clearly. If photographing the Milky Way is your top goal, contact the provider about the darkest timing before you reserve.
The tour can still be worthwhile when the sky is not perfect. You are learning skills, walking through Arches after dark, and seeing North Window, South Window, Turret Arch, and Double Arch in a new setting. Just keep your expectations tied to the weather and moon phase.
Is this tour right for you?
I would choose this experience if you want to photograph Arches at night but do not know how to begin. It is also a strong option for couples, friends, and small groups who want a guided activity after a day of sightseeing.
You will get the most from it if you are willing to practice. The guide can explain the settings, but you still need to try several shots and make adjustments. The experience suits curious beginners better than people seeking a highly technical workshop for advanced photographers.
The praise for Sam and Brandon centers on patience, safety, and practical help. That is important in a night setting. You are not left to find your way among the rocks, and the guide points out drop-offs while keeping the group moving.
I would think twice if you dislike walking after dark, need accessible terrain, or want guaranteed perfect Milky Way conditions. I would also compare the cost carefully if you already own night-photography gear and know the park well.
For everyone else, this is a memorable way to experience Arches National Park. Book it if you want more than a quick look at the stars and would value personal help turning the night sky into photographs you can keep.
FAQ
Where does the tour meet?
Meet your guide at The Windows parking area, in the first parking lot on the right.
How long is the activity?
The guided experience lasts two hours and includes roughly two miles of hiking from the Windows trailhead.
What places will I see?
The route includes North Window, South Window, Turret Arch, and Double Arch, with Double Arch serving as the main highlight near the end.
Is a tripod provided?
Yes. Tripods are included if needed, along with red LED headlamps.
Can I use a smartphone instead of a DSLR?
Yes. Guides have helped participants use iPhones and other smartphones to take night photographs. Bring your own charged phone.
Can I rent a camera or lens?
Yes. A DSLR camera and DSLR lenses are available for an additional fee. The listed lens mounts include Canon EF/EFS and Nikon F.
Is park admission included?
No. Transportation to the meeting point and the Arches entry pass are not included. The listed fee is $30 per standard vehicle.
Can I cancel the booking?
You can cancel up to 24 hours in advance for a full refund. You can also reserve now and pay later, according to the booking terms.
Just added around the USA
- Focus on Haines Private Nature / Photography tour★ 5.0 · 38 reviews
- Exclusive Photography Tour Haines Departure★ 5.0 · 19 reviews
- Private Proposal Professional Photo Shoot – Grand Canyon★ 4.5 · 2 reviews
- Hire Photographer, Professional Photo shoot – Grand Canyon★ 5.0 · 29 reviews
- Photoshoot in Grand Canyon★ 5.0 · 2 reviews
- Full Day Guided Wildlife Photography Tour In Yellowstone★ 5.0 · 6 reviews
- Miami incredible Photoshoot – Private Session with a Professional Photographer★ 5.0 · 2 reviews
- Modern Vibe Fort Lauderdale Las Olas Photography Session★ 5.0 · 2 reviews
Night & Astro Photography, side by side.
Tokyo by Night Photography Tour (Private Option Available)
Read our review →
Night Photo Session in a Fiat 500 with Aperol Spritz
Read our review →
Private Guided Night Photography Tours on Cape Cod (for one photographer.)
Read our review →
Doha Night Desert Safari, Stargazing, Photography، Relaxation
Read our review →Lists this one turns up in